Isolated vs Cross Margin: Which Should You Actually Use?
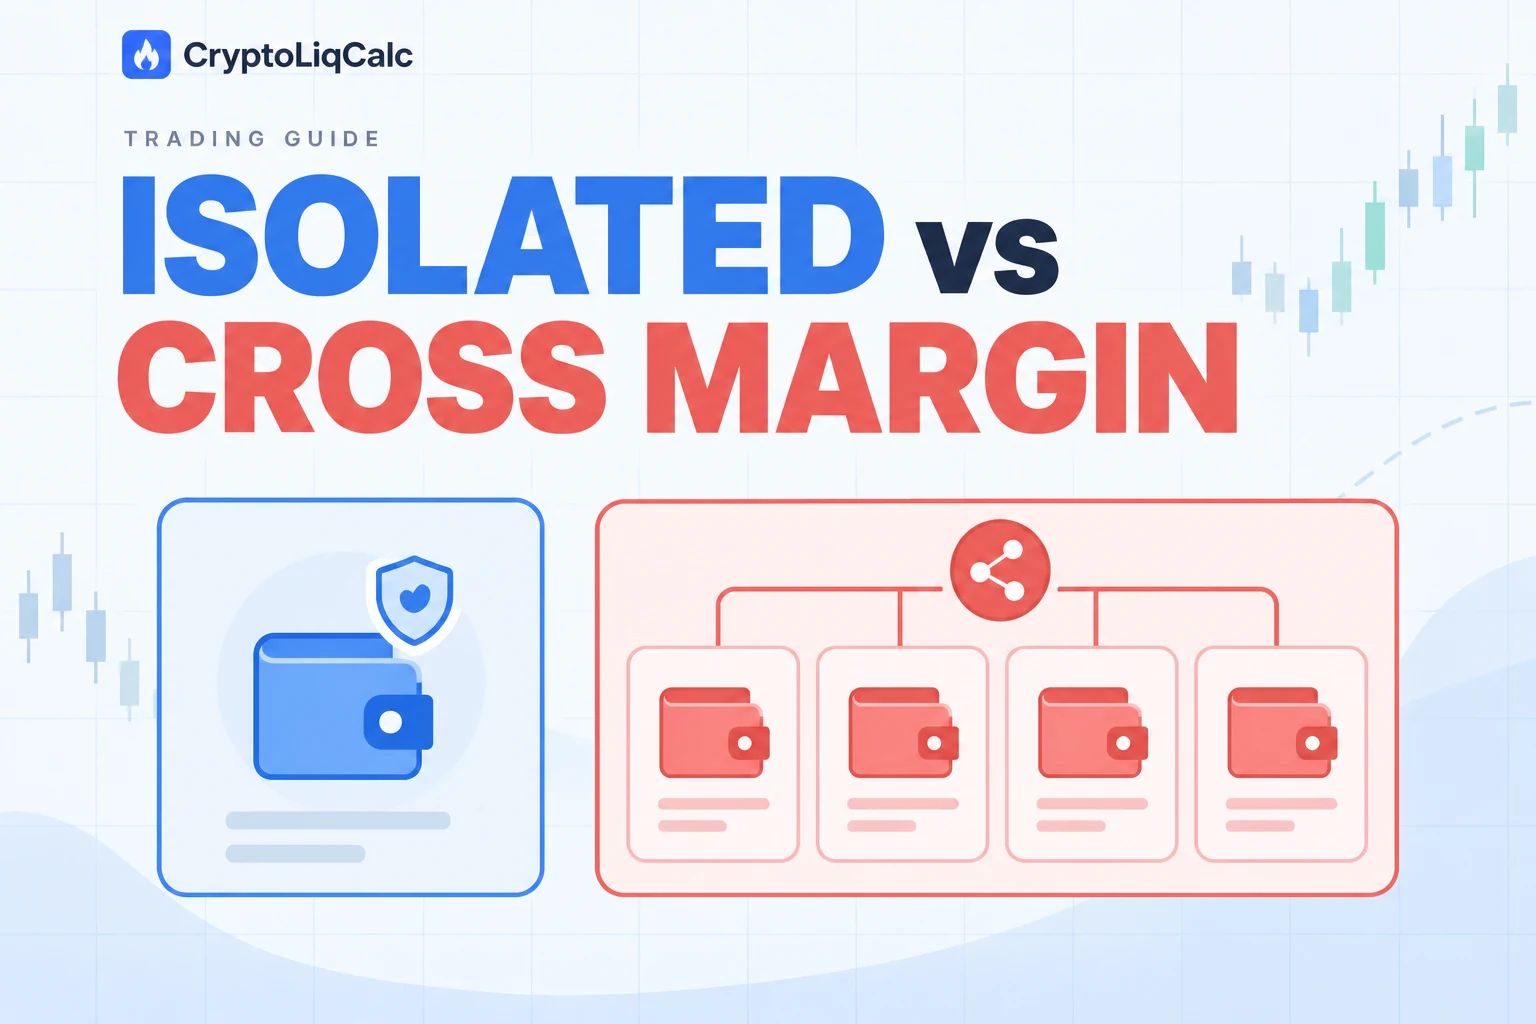
Both margin modes can liquidate you. The difference isn't "safer vs riskier" in a simple sense — it's about where the risk is contained. Isolated margin caps your loss per position; cross margin caps your loss per account, at the cost of every position sharing the same fate.
- Isolated margin caps your loss at the margin assigned to one position; cross margin backs every position with your full account balance.
- The two modes produce different liquidation prices for the exact same trade — isolated liquidates sooner, cross liquidates later but risks more.
- Cross margin's "safety" is a further liquidation price, not lower risk — a bad move still draws down your entire balance.
- Choose based on whether you trust your own stop loss, not on which mode "feels" safer.
The mechanical difference
Isolated margin allocates a fixed amount of margin to a single position. If that position moves against you far enough to hit the maintenance margin requirement, only that allocated margin is at risk — the position gets liquidated, and the rest of your account balance is untouched.
Cross margin pools your entire available account balance as margin for every open position. If one position starts losing, the exchange draws on your whole balance to keep it alive longer — which also means a single bad position can now draw down margin that was "backing" your other, healthy positions.
This is why the two modes produce different liquidation prices for the exact same trade. Isolated margin liquidates sooner (the position has less margin behind it), cross margin liquidates later (it has your whole balance behind it) — but when cross margin does liquidate, it can take other positions down with it because the shared collateral pool is what failed, not one isolated position's collateral.
Isolated Margin
- Loss capped at the margin assigned to that position
- Liquidation price is closer to entry
- One bad trade can't touch your other positions
- You must manage margin per-position manually
Cross Margin
- Full account balance backs every position
- Liquidation price is further from entry (more buffer)
- One losing position can drain margin from winning ones
- A single liquidation event can cascade across your whole account
Worked example
Say you open a $1,000 position on a coin at $100, using 10x leverage with a $100 margin allocation, on an exchange with a 0.4% maintenance margin rate.
Isolated Margin
Only the $100 you assigned is at risk. Liquidation price sits close to entry (roughly a 9–10% adverse move for 10x leverage). If it's hit, you lose the $100 — and nothing else in your account is affected.
Cross Margin
If your account balance is $5,000, that entire $5,000 is available to absorb losses on this position before liquidation triggers. The liquidation price is much further away — but if the market keeps moving against you, the exchange keeps drawing down your full balance, not just the $100 you originally "intended" to risk.
A framework for choosing
The honest answer is that margin mode should match your confidence in your own stop loss, not your risk appetite in the abstract:
- Use isolated margin when you have a specific, tested thesis and a stop loss you actually intend to honor — isolated margin then acts as a hard backstop if something goes wrong faster than you can react (a flash crash, an exchange outage, a missed alert).
- Use cross margin only when you're actively managing multiple correlated or hedged positions and want the shared buffer intentionally — for example, running a long and a short that partially offset each other, where a shared margin pool reflects your actual net exposure.
- Avoid cross margin as a default "just in case" setting. If you're using it because isolated margin's liquidation price feels "too close," the actual fix is smaller size or lower leverage — not silently exposing your entire balance to one trade.
Our Liquidation Calculator shows both isolated and cross liquidation prices side by side for the same inputs, so you can see the actual price gap between the two modes before you decide — rather than assuming which one is "safer."
Conclusion
Neither margin mode is inherently safer — they just fail differently. Isolated margin contains the damage to one position; cross margin buys more room at the cost of your whole balance being on the line. Pick isolated by default, and reach for cross only when you have a specific, intentional reason to share margin across positions — not because a closer liquidation price feels uncomfortable.
FAQ
Sources
- Binance Futures documentation — isolated and cross margin mechanics
- Bybit Help Center — margin mode mechanics